Monday, November 08, 2010

Miami Beach

I was recently in Miami Beach, Florida on a business trip and as always I had my Canon DSLR camera with me. I didn't bring any of my expesnive lenses so all these images were taken using my Tamron 18-270mm travel lens which doesn't have the best optical quality.
Miami Beach Sunrise
click for larger image

South Beach Sunset
click for larger image

Miami Beach
click for larger image

Miami Beach Fountain Bleau Hotel
click for larger image

If you would like to see more images please visit my Flickr Photostream.
All images copyright Daniel Ray Photography.

Wednesday, October 06, 2010

Railroad Outlaws

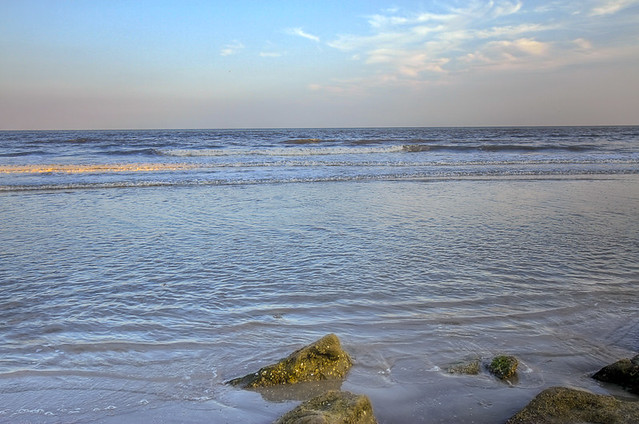
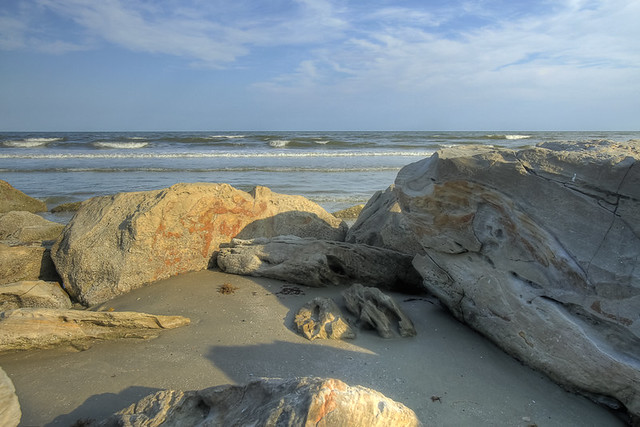
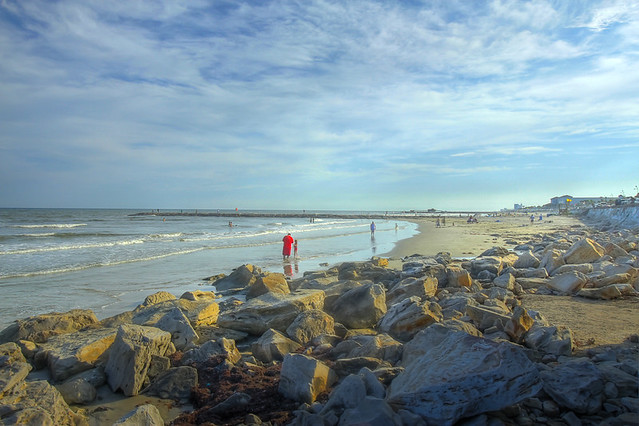
 The other day I decided to take a few hours and travel to Galveston and do some photography.  In the small village of Bayou Vista, Texas I stopped to put fuel in my white Ford truck.  As I was pumping the fuel I noticed several locomotives sitting idle on the tracks across the roadway.  I decided to drive over and check it out, and possibly get a shot or two to start off my day.

 After arriving I realized that I would need to walk out on to the railroad tracks in order to get the photo I wanted, but I knew entering railroad property was against the law.  Since there wasn't anyone around I thought the chance of getting caught would be minimal.

 As I sat in my truck unpacking my camera and getting my tripod ready I looked up to see a white pickup truck slowly driving toward me. I thought to myself, crap it's a railroad worker and they are going to tell me to leave before I get the photo. As the truck approached and eased along side me the man driving looked at me and I looked at him.  Eye to eye we did not exchange any waves, smiles or friendly head nods.  This can't be good I thought.

 The truck passed me and turned around on the narrow road and parked about fifty yards behind me.  I watched through my side mirror to see what he was going to do.  Thoughts raced through my mind, was he writing down my license plate number, calling for backup, loading his shot gun... who knew?   After what seeming like an eternity he exited the vehicle holding something in his hands and began walked towards my vehicle.  I watched his progress, preparing myself for what was coming.  About half way he stopped and  lifted a Nikon camera to his eye, aimed it at the locomotives and snapped off a few shots and then turned back to his truck.

 Whew! Just another photographer. I then jumped out of my truck walked out onto the railroad tracks and took my photos.  As he drove away he gave me a big smile and a wave good-bye.


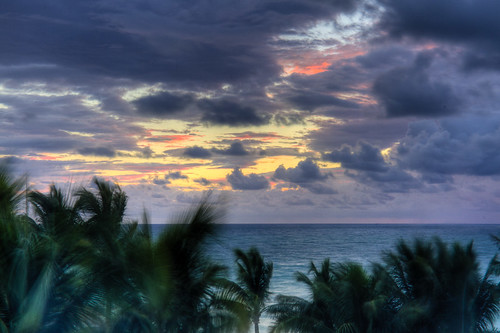
This is a High Dynamic Range (HDR) image composed of three exposures (0, -2 and +2 stops) using a Canon EOS 7D and Canon EF 70-200mm f/2.8L IS lens @ 70mm on a very sturdy tripod. The properly exposed image was shot in Av mode using ISO 100, F/22 at 1/40 second. The three RAW images where combined and tone mapped using Photomatix 3.0 and further processed using Lightroom 3.0.
All images copyright Daniel Ray Photography.

Friday, October 01, 2010

Don't Blow the Horn

I recall as a kid driving through the Baytown tunnel and being told by a family friend driving the car that if you blew the cars horn while inside the tunnel the sound vibrations would cause the tunnel to collapse and kill all those inside. Just as the driver finished telling this horrific story she blew the horn scaring the hell out of us kids. Of course the tunnel didn't collapse.  

Well the old Baytown tunnel is no more and was replaced by the very modern Fred Hartman suspension bridge in 1995. Here the bridge can be seen at sunset with the lights of the many refineries that line the Houston ship channel.  What you can't see are the sunken sail boats (camera right) that still remain after hurricane Ike devastated this region in 2008.  You also can't see the millions of mosquitoes that where eating me alive as I waited for the sun to set in order to capture this image.

This image is a High Dynamic Range (HDR) image composed of three exposures (0, -2 and +2 stops) using a Canon EOS 7D and Canon EF 70-200mm f/2.8L IS lens and a very sturdy tripod.  The properly exposed image was shot in Av mode using ISO 100, F/22 at 2 seconds.  The three RAW images where combined and tone mapped using Photomatix 3.0 and further cleaned up using Lightroom 3.0. 


Fred Hartman Bridge over the Houston ship channel between La Porte and Baytown, Texas

All images copyright Daniel Ray Photography.

Thursday, September 30, 2010

Reflections of San Jacinto

Many outside Texas know about the battle at the Alamo where the Mexican army decimated the Texas Army, but fewer know about the decisive battle of San Jacinto where the Texas Army defeated General Antonio López de Santa Anna's Mexican forces in a fight that lasted just eighteen minutes..

This was my third visit to the monument and the first visit for my three sons.  They enjoyed the the elevator ride to the top of the 567 foot monument and once at the top they enjoyed the view over Galveston Bay even more.  If you're visiting the greater Houston area I encourage you to visit this one of kind monument and the surrounding grounds.

The above image was taken at the north end of the reflecting pool looking south to the monument.
All images copyright Daniel Ray Photography.


Thursday, August 12, 2010

HDR to the Rescue

Earlier this week I was visiting Galveston Island, Texas and the scenery was absolutely beautiful.  As usual I had my camera with me and I wanted to capture the spectacular scenes, but I knew the photographic images I'd capture would not to justice to what I was witnessing so I put my camera up and called it a day. 

Hah, not a chance!  I turned to the photographic technique known as High Dynamic Range (HDR) to help me deliver an image that was truer to the scene I wanted to capture.  HDR can be used to capture the wide dynamic range of tones in an scene by slicing the dynamic range into three or more exposures and then using computer software to layer the multiple images into a single image that has a wider tonal range than the camera could capture with just one exposure.

What follows are a few images from that day that I captured as three JPEG images at exposures of -2 stops, +2 stops and a proper exposure with no exposure compensation.  The three JPEG images were then combined and tone mapped using Photomatix 3.0 and further adjusted using Adobe Lightroom 3.0.

Click image to see larger size
The Gulf of Mexico. No oil here thank God.

Click image to see larger size
My wife painting a seascape as she watched our three boys play in the surf. I particularly like the golden color of the setting sun that illuminated the rocks behind her.


Click image to see larger size
A large collection of rocks that have been placed at the base of the seawall to protect it from future storms. I believe these rocks were added after hurricane Ike devastated Galveston island in September 2008.

Click image to see larger size
Looking west down the beach with the seawall on the far right side and the 61st street fishing pier in the far background


Click image to see larger size
Seawall graffiti
 
All images copyright Daniel Ray Photography.

Sunday, April 04, 2010

Photographing the Easter Bunny

Easter Eve our six year old came to me and asked me to take a picture of the Easter Bunny.  I told him I'd try and didn't think much more about it until later when I was putting him to bed and he reminded me that I "promised' to take a picture of the Easter Bunny.  I think his two older brothers were telling him the Easter Bunny wasn't real and he wanted proof to the contrary.  So I began concocting a plan to photograph the Easter Bunny for our six year old. 

Saturday, February 20, 2010

The Power of Post Processing


I often run across other photographers who don't use post processing in their workflow and it always strikes me as somewhat odd.  Are these people so good that they don't need to use post processing or do they not know how to use Photoshop or other image editing tools?  In my opinion, after learning how to use your camera gear and composing an image in your viewfinder, post processing is the most import part of your workflow and it can greatly enhance the visual impact of your images.

Today I was looking through some older photos and I ran across this unprocessed picture of my son at the beach in Destin, Florida.  I like the image but there were so many things wrong with it that I decide to run it through Photoshop and see if I could improve it.

There are four major adjustments that I felt needed to be made.
  1. Level the crooked horizon.
  2. Remove the two swimmers just above his left hand.
  3. Remove the blue shovel and pail near his left knee.
  4. Correct the over exposed sky, clouds, sand and water.  

I pulled the original image into Photoshop CS3 and corrected the four problems and also used curves to adjust the colors. here is what i did in Photoshop
  1. Level the crooked horizon.
    Rotated the image 3 degrees clock wise and cropped.  I had to use the clone tool to rebuild the far right edge of the image or his left elbow would have been cropped off.
  2. Remove the two swimmers just above his left hand.
    A little bit of cloning took care of the swimmers
  3. Remove the blue shovel and pail near his left knee.
    A whole lot more cloning took care of the blue shovel and pail.
  4. Correct the over exposed sky, clouds, sand and water.
    Added an adjustment layer and set it to multiply to darken the entire image.  I then added a layer mask and masked out him and his surf board so they would not be darkened by the adjustment layer.
  5. Added a curves adjustment layer too bring out the color and contrast of the sky and clouds.
The whole process took me about 15 to 20 minutes.  I'm pleased with the result but I can see many flaws and I know that I can do better with more practice.  Let me know what you think.


All images copyright Daniel Ray Photography.

Sunday, January 31, 2010

One Stop Photography Website Hosting

 As a photography it is important to have a web presence where potential clients can find you and see your work.  Other important functions that a photographer's web site can offer is a place for clients to review images from their photo sessions and even order prints.  A few years ago you would have to have your website custom developed by a web designer and then hosted by a hosting company.  For a photographer all of that could get very expensive and require your time to maintain which results in less time for you to do what produces income, making photographs.

 In the past few years the phorography website hosting niche has been filled by several company's such as Smug Mug, PBase, Photoshelter and others.  Bac in 2007 when I was looking for a hosting site for my gallery I chose Zenfolio because I prefered their gallery layout and the price was right, but Zenfolio fell short in many features such as slide shows, a home or splash page and it didn't allow for much customization beyound the prebuilt layout and color templates.

 Well that has all changed. In January 2010 Zenfolio's latest release has greatly enhanced their site by now offering new functionality that allows photographers to use Zenfolio to host 100% of their web site for gallery presentations, client reviews, print fullfillment services and much more.

 If  you are looking for a photographer's web site hosting service I would strongly recommend Zenfolio.
 
All images copyright Daniel Ray Photography.